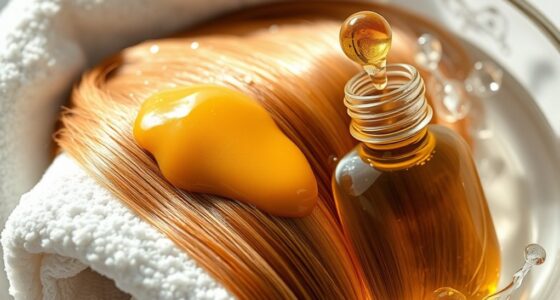

To fix split ends at home, try a simple DIY lamination trick by creating a nourishing sealant with ingredients like aloe vera gel, coconut oil, and vitamin E. First, prepare your hair by cleansing and detangling. Apply the mixture focusing on the ends, then gently seal it with warm heat or a gentle blow-dry. This helps strengthen and smooth your hair, reducing the appearance of split ends. Keep going to discover more tips for long-lasting, healthy hair.
Key Takeaways
- Prepare a homemade sealant by mixing aloe vera gel, coconut oil, and vitamin E for nourishing ends.
- Apply the mixture evenly on damp, detangled hair focusing on split ends.
- Use sectioning tools and fine brushes to ensure thorough, even coverage during application.
- Seal the treatment with gentle heat or a warm towel for better absorption and longer-lasting results.
- Maintain regular trims, gentle washing, and nourishing routines to support long-term split-end prevention.
Understanding Split Ends and How They Affect Your Hair
Split ends occur when the protective outer layer of your hair breaks, causing the hair shaft to split into two or more strands. This hair damage weakens your hair, making it look frizzy, dull, and unhealthy. When you ignore split ends, they can travel upward, leading to more breakage and further damage. To prevent this, split end prevention is essential. Regular trims can help remove existing split ends, but you can also protect your hair by avoiding excessive heat styling, harsh chemicals, and rough brushing. Proper hydration and using nourishing hair treatments strengthen your strands. Recognizing early signs of damage allows you to take action before split ends worsen, helping your hair stay healthy, shiny, and resilient longer. Additionally, understanding the importance of scalp health can contribute to overall hair strength and vitality, as a healthy scalp supports hair growth and resilience. Maintaining a balanced diet and proper hair care routine can also promote overall hair health and minimize the risk of damage. Incorporating gentle brushing techniques can also reduce stress on damaged hair and prevent further splitting.
Gathering the Essential Ingredients for DIY Hair Lamination
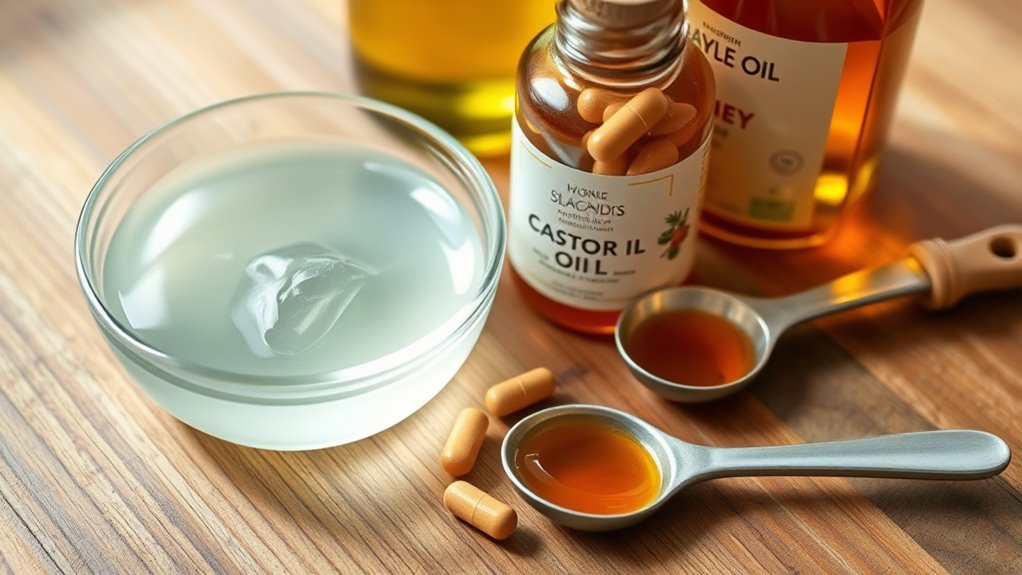
To start your DIY hair lamination, gather the essential products like a strong-hold gel or keratin treatment, along with any natural additives you prefer. Make sure you have the right tools, such as a brush and gloves, to apply the treatment evenly. With everything ready, you’ll be set to restore your split ends effectively. Additionally, choosing a safe and effective product can help maximize results and prevent further damage. Using a high-pressure sprayer designed for coating large surfaces can help ensure an even and thorough application of the lamination treatment. Incorporating essential oils known for hair health, such as rosemary or peppermint, can also support overall hair vitality and minimize damage.
Necessary Hair Care Products
Gathering the right products is essential for effective DIY hair lamination, as these ingredients will help strengthen and smooth your hair. Start with a good hair serum; it’s key for sealing in moisture and adding shine. A lightweight, nourishing serum also helps tame frizz and makes your hair look sleek. Don’t forget a gentle shampoo and conditioner suited for damaged or split ends to prep your hair before the lamination process. Additionally, incorporating a scalp massage oil or treatment can boost circulation and promote healthier growth, which supports the overall health of your hair. Using products designed for highlighted hair can further enhance color preservation and shine. These products work together to prepare your hair and scalp for the lamination, ensuring better results and a smoother, shinier finish. Choosing the right hair care products can also influence the longevity of your DIY lamination treatment. Having the right products nearby makes your DIY treatment more effective and enjoyable, especially when you incorporate techniques that align with spiritual energy to foster a positive and calming environment during your hair care routine. Moreover, staying informed about AI security developments can help you stay safe online while researching the best products and techniques.
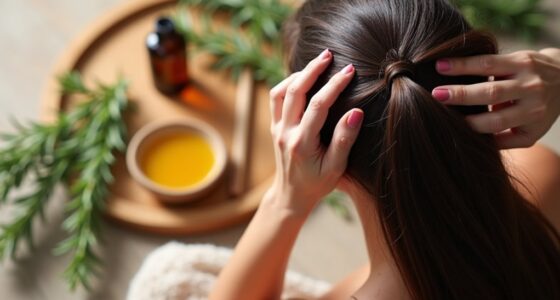
Optional Natural Additives
Incorporating natural additives into your DIY hair lamination can boost its nourishing effects and leave your hair looking even healthier. Natural remedies like aloe vera, honey, or coconut oil can hydrate and strengthen your strands, enhancing the lamination process. These ingredients provide essential nutrients and antioxidants that repair damage and improve elasticity. You might also consider adding hair vitamins, such as biotin or vitamin E, to support overall hair health from within. These supplements can promote stronger, shinier hair and help prevent future split ends. Just a few drops of essential oils like rosemary or lavender can also add a soothing scent and promote scalp health. Natural hair care remedies are a great way to customize your treatment for optimal results. Remember, natural additives are optional but can profoundly amplify the benefits of your DIY lamination treatment. Risk assessment for merchant services can help you understand the potential vulnerabilities associated with incorporating new ingredients or techniques into your routine. Additionally, choosing safe and suitable ingredients ensures your hair’s health and effectiveness of the treatment. Using ingredients rich in nutrients and antioxidants can further enhance the nourishing effects of your DIY process.
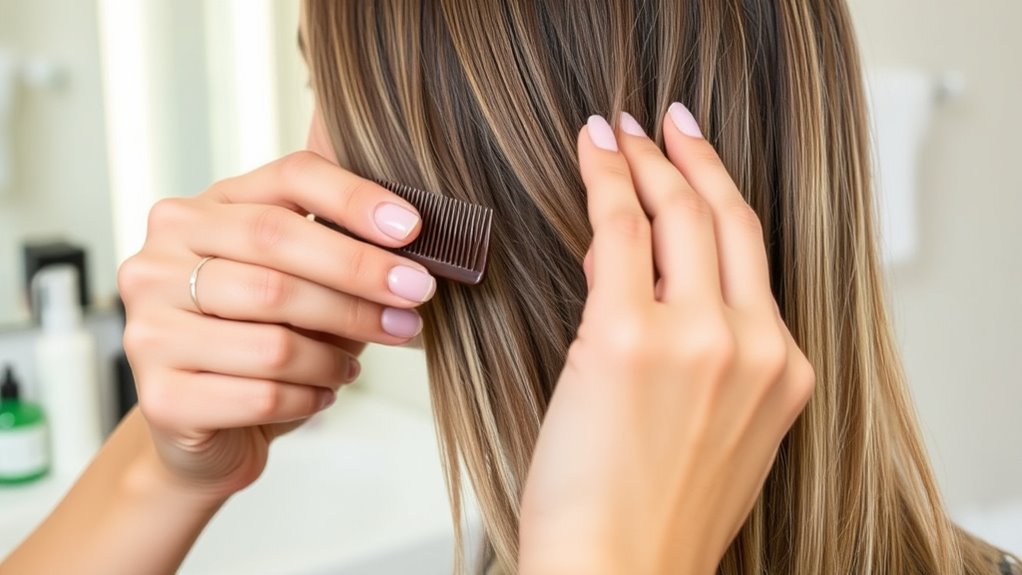
Tools for Application
Having the right tools on hand makes applying your DIY hair lamination easier and more effective. You’ll need items that help evenly distribute the treatment and protect your hair. Essential tools include a tint brush for precision, a comb for detangling, gloves to avoid staining, and clips to section your hair. A scalp massage brush can also stimulate blood flow and improve absorption. If you’re adding hair color, ensure you have mixing bowls and applicators. Keep a mirror nearby to check your progress. Here’s a quick overview:
| Tool | Purpose |
|---|---|
| Tint brush | Precise application of treatment |
| Comb | Detangling and sectioning |
| Gloves | Protect hands from stains |
| Clips | Sectioning for even coverage |
| Scalp massage brush | Stimulate scalp, improve absorption |
Preparing Your Hair for the Lamination Process
Before you start the lamination process, it’s important to prepare your hair properly. Clean, healthy hair guarantees better adhesion and reduces the risk of further hair damage. Focus on maintaining scalp health, as a healthy scalp promotes stronger, shinier hair. To prepare effectively, consider the following steps:
- Wash your hair thoroughly with a gentle, sulfate-free shampoo to remove buildup
- Avoid using heat styling tools or chemical treatments for at least 48 hours beforehand
- Deep condition to hydrate and strengthen your hair, minimizing damage
- Detangle carefully to prevent breakage and ensure even application of the lamination treatment
- Ensuring proper color accuracy in your hair dye or treatments can support overall hair health and appearance. Additionally, using digital literacy tools for hair care tutorials can help you achieve better at-home results.
- Incorporating preventative care practices can further protect your hair from damage during the lamination process.
These steps will help set a strong foundation for the lamination process, ensuring smoother results and healthier hair.
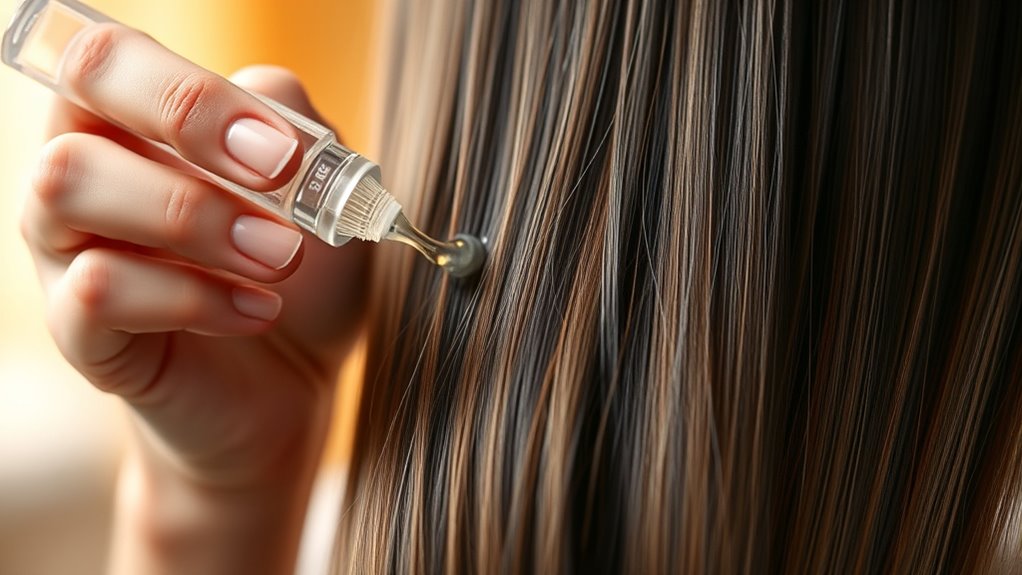
Step-by-Step Guide to Creating Your Homemade Hair Sealant
Once your hair is properly prepared, you can start creating a simple, effective homemade hair sealant to lock in moisture and enhance the lamination results. Begin by mixing equal parts aloe vera gel and coconut oil, which work well to nourish and hydrate your hair. Add a few drops of vitamin E oil for added repair benefits. To boost the sealant’s effectiveness, incorporate a gentle scalp massage using basic techniques, stimulating blood flow and promoting absorption. While experimenting with hair dye trends, opt for natural, dye-free ingredients to avoid damage. Apply the mixture evenly through your hair, focusing on the ends, and massage your scalp lightly to improve absorption and boost scalp health. Incorporating knowledge about hair health can help you choose the best ingredients for your specific needs. This DIY sealant helps seal in moisture and prolongs the benefits of lamination.
Applying the Lamination Mixture for Best Results
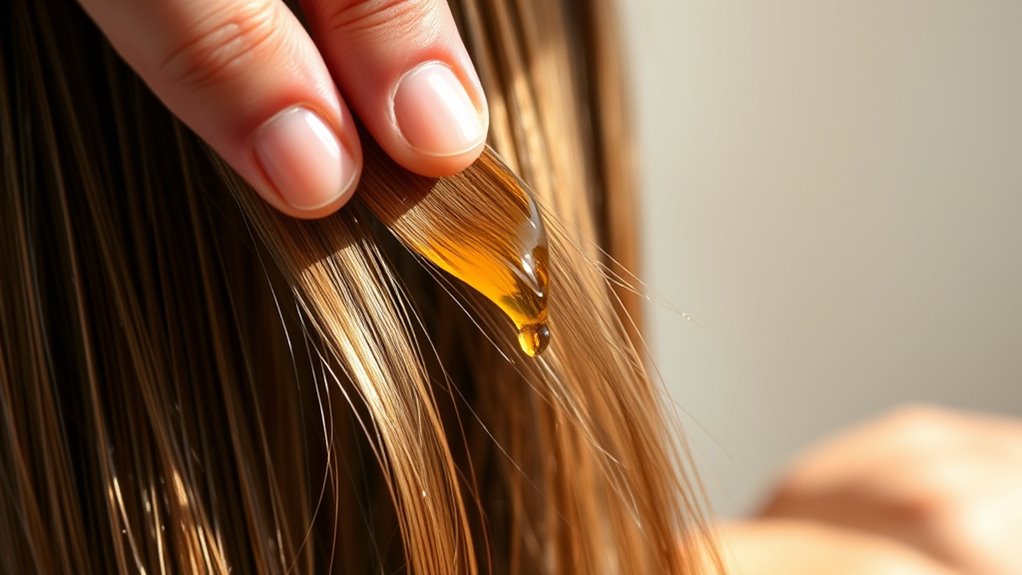
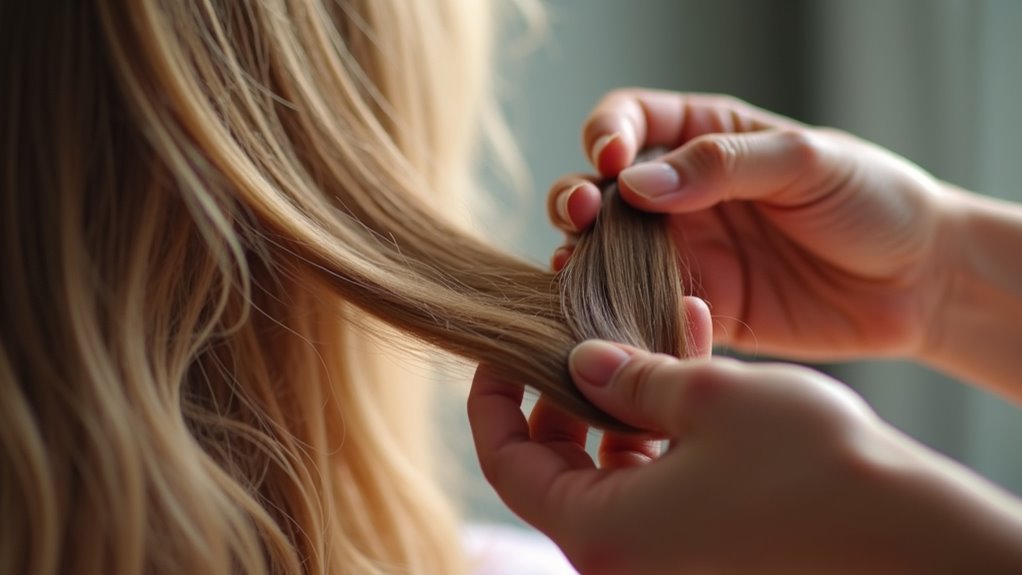
To achieve the best results, apply the lamination mixture evenly throughout your hair, focusing on the ends where damage is most common. Proper application guarantees the treatment penetrates deeply, helping to mend split ends and restore smoothness. Remember, hair care myths can lead you astray, so stick to a method that targets the true split end causes—damage from heat styling, chemical treatments, or neglect. Use a fine-tooth comb or your fingers to distribute the mixture thoroughly, avoiding clumps or uneven patches. This careful approach maximizes the lamination’s sealing effect, giving your hair a sleek, polished look. Keep in mind that consistent application yields the best long-term results in preventing further split end formation and maintaining healthy hair.
Applying the lamination mixture evenly, focusing on ends, ensures deep penetration and prevents further split ends.
- Use a gentle, wide-tooth comb for even distribution
- Focus on split end-prone areas first
- Avoid applying too much product to prevent weighing hair down
- Ensure hair is damp for ideal absorption
Tips for Ensuring Even Coverage and Smooth Finish
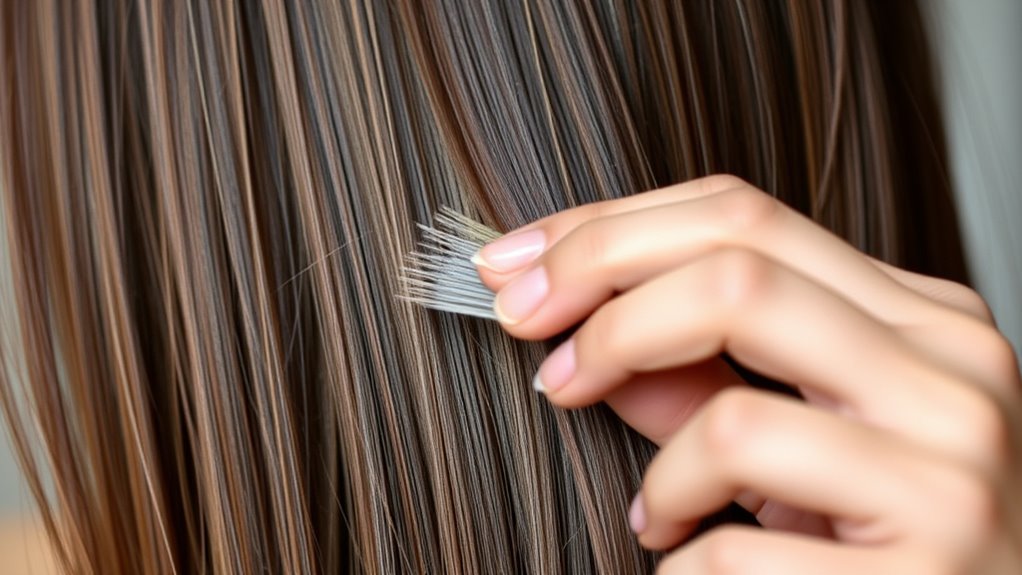
To achieve a smooth, even finish, start by applying the product carefully and evenly through your hair. Use a fine-tooth comb to distribute the mixture thoroughly and eliminate uneven spots. Finally, seal your ends with gentle heat to lock in the treatment without causing damage.
Apply Product Evenly
Achieving an even application is key to ensuring your DIY lamination looks professional and smooth. To do this, focus on distributing the product uniformly across your hair, avoiding patchy spots. Use your fingers or a brush to apply the hair dye or treatment from roots to ends, maintaining consistent pressure. Pay special attention to areas with split ends, ensuring they receive enough product for effective repair. Keep scalp health in mind by avoiding excessive product buildup near the scalp, which can cause irritation. For a flawless finish, work in small sections, checking each as you go.
- Section your hair for better control
- Use a fine brush for precision
- Keep a steady hand to prevent uneven streaks
- Regularly check coverage in a mirror
Use Fine-Tooth Comb
Using a fine-tooth comb can substantially improve the evenness of your lamination application. It helps distribute the product uniformly from roots to ends, which is especially important if your hair has varying porosity levels. Hair porosity affects how well the product penetrates, so a precise comb guarantees all strands receive equal coverage. Additionally, using a fine-tooth comb minimizes pulling and tangling, which can irritate your scalp and compromise scalp health. As you comb through, focus on smoothing the product smoothly over your hair, avoiding missed spots or uneven patches. This step guarantees a sleek, professional finish and prevents buildup in some areas. Consistently using a fine-tooth comb ensures your DIY lamination is thorough, balanced, and gentle on your scalp.
Seal With Heat Gently
Sealing with heat gently helps lock in the lamination product and creates a smooth, glossy finish. Proper heat sealing guarantees even coverage and enhances hair preservation. Use a heat tool set to low or medium, avoiding direct contact with the scalp to prevent damage. Keep the tool moving steadily to avoid hot spots that could cause uneven results.
- Test the heat on a small section first to gauge temperature and hair response
- Use a comb or brush to guide the heat evenly through your strands
- Focus on the mid-lengths and ends for better sealing and gloss
- Limit heat exposure to prevent over-processing and preserve hair health
This careful approach maximizes the benefits of DIY lamination while protecting your hair from excessive heat damage.
Allowing the Treatment to Set and Seal the Ends
Once you’ve applied the lamination treatment to your split ends, it’s important to give it time to set properly. This allows the product to penetrate and create a protective seal, reducing further hair breakage. During this period, avoid touching or manipulating your hair to prevent disrupting the treatment. Keeping your hair undisturbed helps the seal to form firmly, ensuring your ends stay smooth and less prone to splitting. While waiting, focus on maintaining scalp health by avoiding harsh products or excessive washing, as a healthy scalp supports strong, resilient hair. Patience during this step is key; rushing the process may weaken the seal and reduce the treatment’s effectiveness. Allowing the treatment to set properly ensures longer-lasting results and healthier-looking hair.
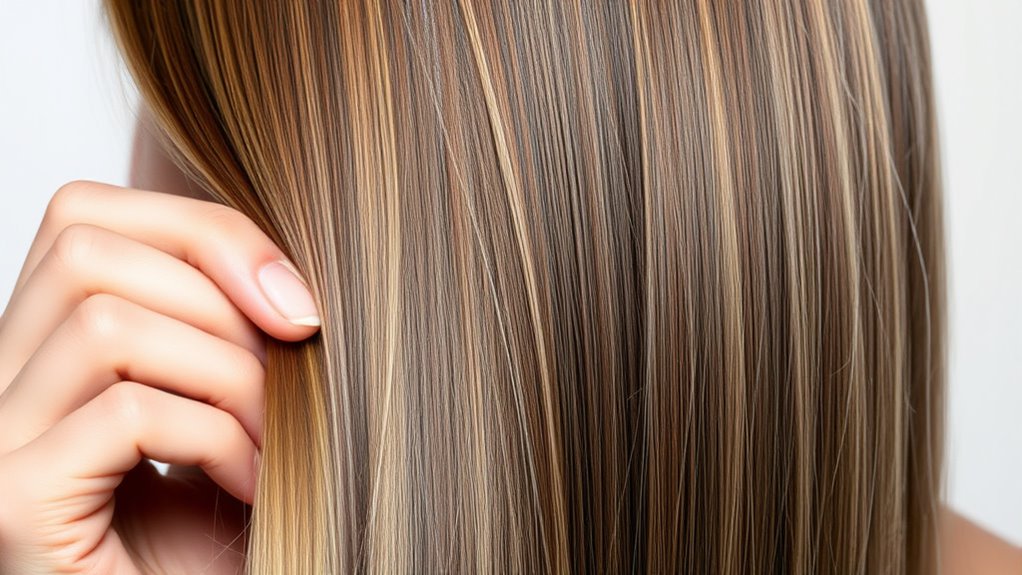
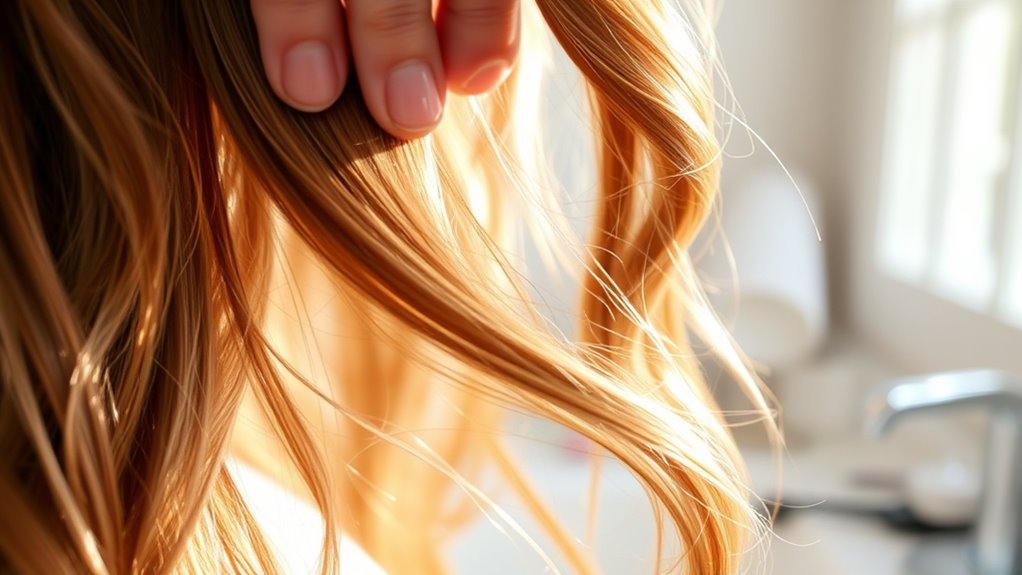
Rinsing and Styling Your Newly Laminated Hair
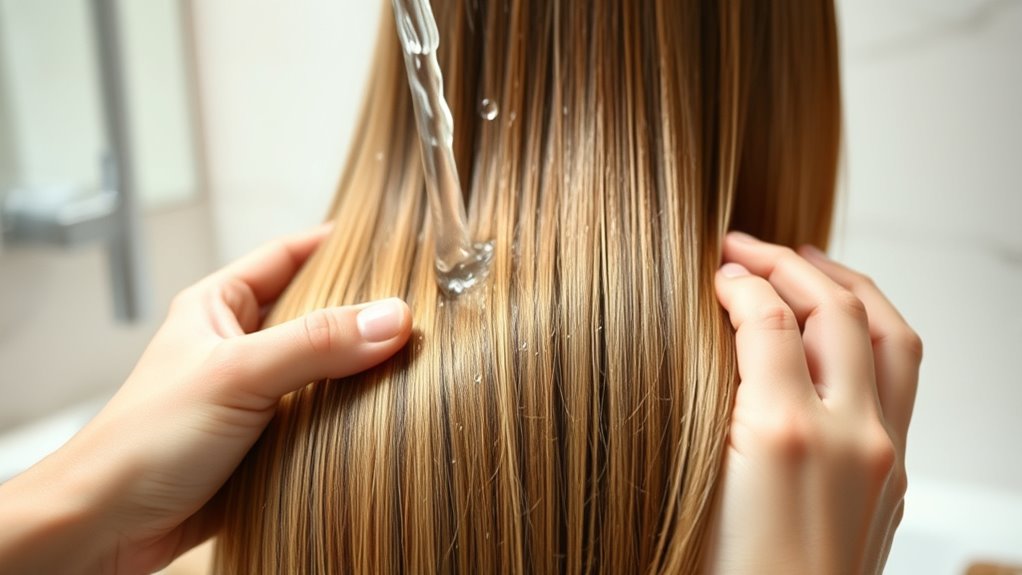
After the treatment has had sufficient time to set, it’s important to rinse your hair thoroughly with cool or lukewarm water to remove any residual product. This step helps seal the lamination and enhances shine. Gently massage your scalp to promote scalp care and stimulate circulation, avoiding harsh scrubbing. When styling, use a wide-tooth comb to detangle without damaging the treated hair. Skip heat styling tools to maintain the lamination’s effect and prevent further damage. If you’re considering hair dyeing, wait at least a week to ensure the lamination fully settles. To finish, apply a nourishing leave-in conditioner to boost moisture and protect your hair’s integrity. Proper rinsing and careful styling will help your DIY lamination last longer and keep your split ends looking smoother.
Maintaining Your Hair Between Treatments
To keep your hair looking smooth and healthy between treatments, focus on gentle care and proper habits. Regular scalp massages can boost blood circulation, promoting better hair growth and overall scalp health. Use sulfate-free shampoos to prevent dryness and avoid stripping natural oils. Limit heat styling and opt for air-drying whenever possible, since excessive heat can weaken hair strands and cause split ends to worsen. Incorporate nourishing conditioners and hair oils that strengthen your strands and maintain moisture. Staying consistent with these habits helps preserve your laminated look and reduces the risk of new split ends forming. Remember, healthy scalp conditions support ideal hair growth, so paying attention to scalp health is essential for maintaining beautiful, resilient hair between lamination treatments.
Additional Care Tips for Healthy, Split-End-Free Hair

Maintaining healthy, split-end-free hair requires more than just gentle washing and minimal heat styling. Proper care enhances your hair’s strength and appearance, especially if you indulge in hair coloring or want to improve scalp health. To protect your ends, use heat protectants before styling and opt for nourishing masks regularly. Be cautious with hair coloring: choose gentle formulas and avoid over-processing to prevent damage. Prioritize scalp health by massaging your scalp to stimulate circulation and using scalp-specific treatments. Additionally, consider trimming split ends every six to eight weeks to prevent further splitting. Maintaining these habits will help your hair stay smooth, shiny, and resilient against damage. Remember, consistent care is key to long-term healthy hair.
Frequently Asked Questions
Can DIY Hair Lamination Completely Eliminate Split Ends?
DIY hair lamination can temporarily improve your hair’s appearance, making it look smoother and shinier, but it can’t completely eliminate split ends. It coats the hair, helping with hair health and sealing in product ingredients, which reduces the look of damage. However, split ends are a physical break. To truly get rid of them, you’ll need to trim your hair regularly. Lamination is a good styling boost, but not a permanent fix.
How Often Should I Repeat This DIY Lamination Treatment?
Think of your hair like a garden that needs regular tending. For the DIY lamination trick, follow the frequency recommendations to keep your strands healthy. Typically, repeating the treatment every 4 to 6 weeks offers the ideal timing to maintain smoothness and reduce split ends. Avoid overdoing it, as too frequent applications can cause buildup. Listen to your hair’s needs and adjust accordingly to keep it looking vibrant and nourished.
Are There Any Hair Types That Shouldn’t Try This Method?
If you’re wondering whether any hair types shouldn’t try this DIY lamination, consider your hair texture and porosity. Fine or high-porosity hair may not respond well, as it can become weighed down or lose moisture. Thick, low-porosity hair might benefit more. Always patch test first, and if you have damaged or chemically treated hair, consult a professional. Adjust the method based on your hair’s unique needs for the best results.
Will This Treatment Affect My Hair Color or Highlights?
You’re wondering if this treatment affects your hair color or highlights. Generally, it’s safe for most hair types, but hair color compatibility varies. If you have color-treated or highlighted hair, there’s a chance it could impact your look. To preserve your highlights, consider doing a patch test first. This DIY lamination might slightly alter your hair’s shine or tone, so consult your stylist if you’re unsure about how it’ll affect your color.
Is Professional Help Necessary for Severe Split Ends?
Think of your hair as a delicate garden needing expert care. When split ends become severe, a professional consultation becomes essential—like calling in a gardener to tend to overgrown plants. Regular hair maintenance helps prevent further damage, but for stubborn splits, a pro can trim and treat with precision. Don’t wait until your hair’s beauty is lost; seek expert help to restore its health and vigor.
Conclusion
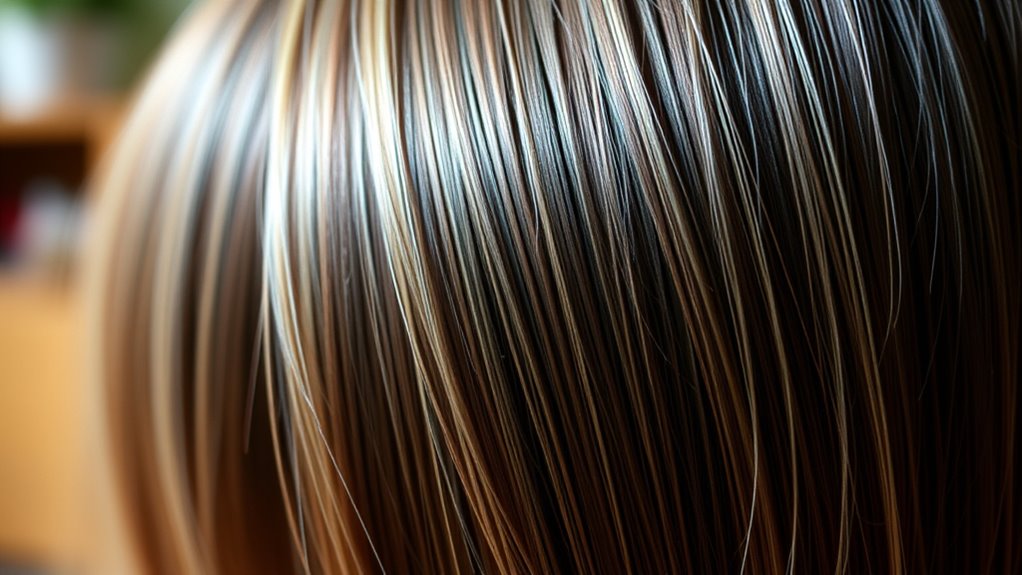
Now that you’ve learned this simple DIY lamination trick, your hair can look sleek and healthy without salon visits. While it temporarily seals split ends, remember it’s not a permanent fix—like a stylish outfit, it needs regular upkeep. With consistent care, your hair stays glossy and smooth, blending beauty with practicality. Embrace this easy at-home solution, and enjoy the confidence of having flawless-looking hair—even when life’s busy moments make trips to the salon impossible.