
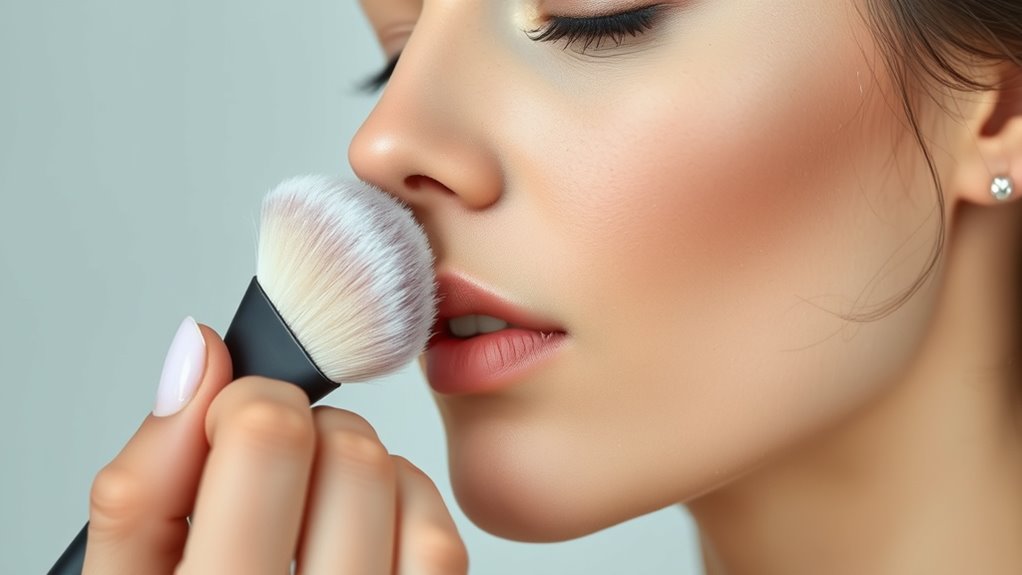
Baking makeup involves applying a thick layer of translucent powder over your concealer and foundation to set your look for hours of flawless wear. It helps absorb excess oils, smooth out imperfections, and creates a radiant, professional finish. Proper tools, skin prep, and technique are key to avoid caking or dryness. You’ll discover step-by-step tips and secret tricks to perfect your baking process, ensuring your makeup stays fresh all day long.
Key Takeaways
- Apply a generous layer of translucent powder over concealer and foundation to set makeup and enhance longevity.
- Focus on key areas like under eyes, forehead, nose bridge, and chin to achieve a flawless, brightened look.
- Let the powder sit (bake) for 5-10 minutes to absorb excess oils and set the makeup effectively.
- Use a damp sponge or fluffy brush to press, blend, and remove excess powder for a smooth finish.
- Finish with a setting spray to lock in the look and add a dewy or matte effect as desired.
Top picks for "makeup sett face"
Open Amazon search results for this keyword.
As an affiliate, we earn on qualifying purchases.
Understanding the Concept Behind Baking Makeup
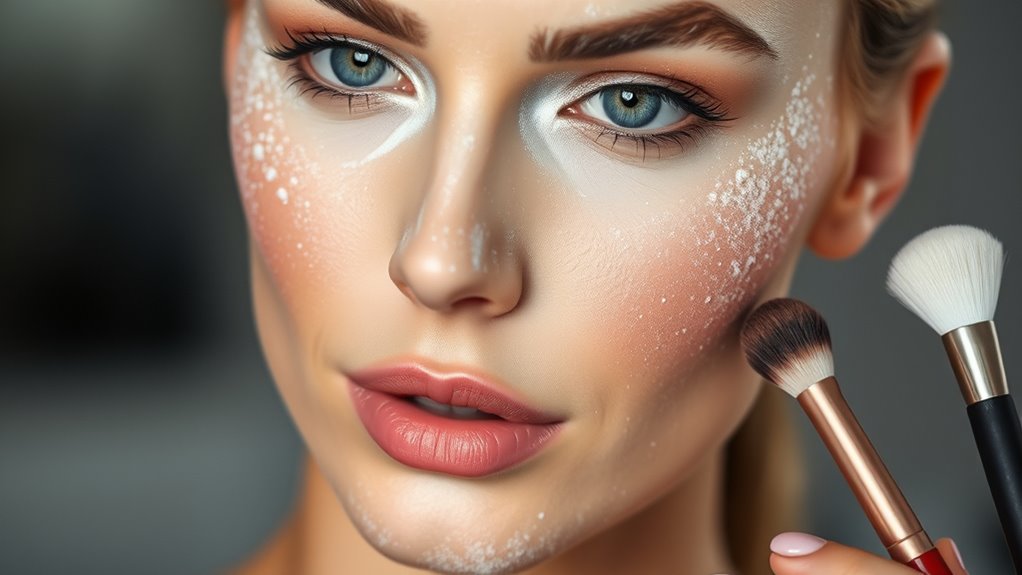
Have you ever wondered why makeup artists set their foundation with a generous layer of powder? It’s all about mastering the art of baking makeup. Highlighting techniques come into play here, as setting powders help create a luminous, radiant look by diffusing light.
Mastering baking makeup creates a luminous, flawless glow that lasts all day.
Meanwhile, color correcting is essential before baking; it neutralizes discoloration like redness or dullness, ensuring a smooth, flawless base.
Baking involves applying a thick layer of translucent powder over your concealer and foundation, then letting it sit to absorb excess oils and set your makeup. This process not only prolongs wear but also sharpens your features with precise blending. Understanding at-home beauty tech can also assist in achieving a more refined application and longer-lasting results. Additionally, using tools like specialized makeup sponges can improve the overall finish and blending process. Incorporating trusted skincare ingredients can further enhance the longevity of your makeup and keep your skin healthy during the process. For optimal results, paying attention to bicycle tire longevity in storage can help maintain your tools and products in good condition, ensuring your makeup routine stays efficient and effective.
Knowing how WWE Raw’s financial impact influences the entertainment industry can inspire you to invest in quality makeup products that last longer and improve your overall look.
Understanding these concepts helps you achieve a polished, professional finish that lasts all day.
Essential Tools and Products for Baking
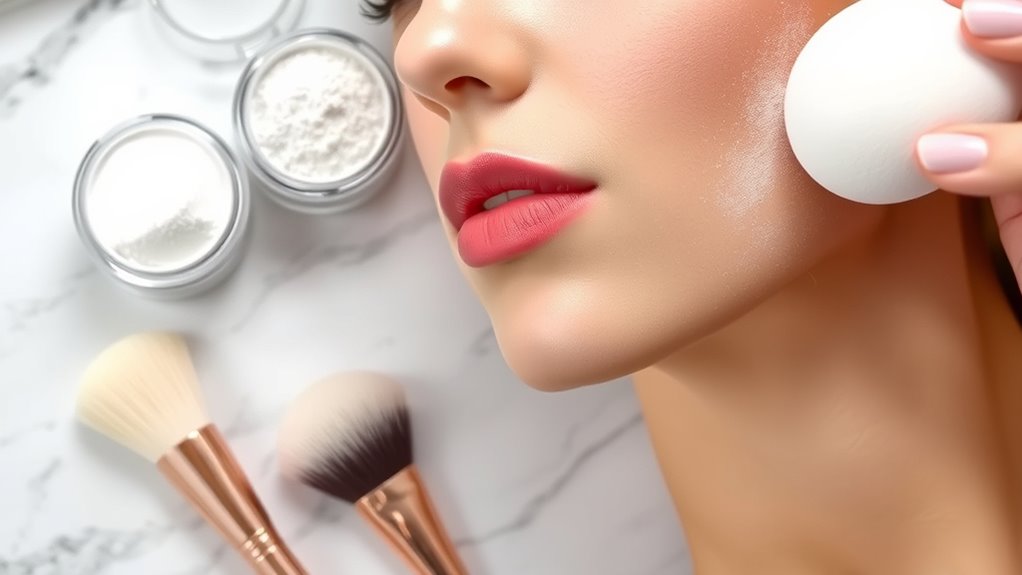
To achieve flawless baking, you’ll need the right powder and tools. Choosing the best setting powders and applying them with the proper brushes makes a big difference. Using a preppy dog name that suits your style can also boost your confidence during makeup application. Proper application techniques ensure the powder sets smoothly and seamlessly for a natural finish.
Powder Selection Tips
Choosing the right powder is essential for achieving a flawless baking look. First, focus on color matching; select a translucent powder if you want a natural finish, or opt for a shade that complements your skin tone for added brightness or coverage.
Texture considerations are equally important—powders with a finely milled, silky feel prevent a cakey appearance and blend seamlessly into your skin. If you have oily skin, look for matte formulas that absorb excess shine, while drier skin types benefit from luminous powders that add a subtle glow.
Keep in mind that a lightweight, breathable formula will set your makeup without feeling heavy. By paying attention to both color and texture, you’ll ensure your baking stays flawless and natural throughout the day.
Essential Application Tools
Achieving a smooth, flawless bake starts with the right tools. You’ll need quality brushes and sponges for precise application and blending. A fluffy powder brush helps set your face evenly, while a smaller, dense brush is perfect for color matching and detailed contouring. Proper brush maintenance guarantees longevity and hygiene, preventing product buildup. Using clean tools also guarantees seamless blending. Here’s a quick look at essential tools:
| Tool | Purpose |
|---|---|
| Large Powder Brush | Applying setting powder evenly |
| Small Blending Brush | Precise blending and color matching |
| Beauty Sponge | Seamless application and baking fit |
| Angled Brush | Contouring and defining features |
| Brush Cleaner | Maintaining brush cleanliness |
These tools streamline your baking routine, ensuring a flawless finish every time.
Setting Techniques Overview
Ever wondered how to make certain your makeup stays flawless all day? The key lies in the right setting techniques, tools, and products. To achieve a seamless finish, focus on using translucent powders for baking and setting. Highlighting techniques can be enhanced with a light dusting on cheekbones and the bridge of your nose, giving your face a radiant glow. When it comes to contouring methods, use a matte powder or cream to define your jawline, nose, and cheek hollows. Essential tools include a damp beauty sponge for precise application and a fluffy brush for blending. These products and techniques work together to lock in your makeup, reduce shine, and create a flawless, long-lasting look. Using the proper air purification techniques can also help maintain healthy, clear skin by reducing indoor pollutants that may irritate your skin or exacerbate conditions like acne. Additionally, incorporating digital literacy practices can help you stay informed about product ingredients and skincare innovations that support your skincare routine. Incorporating essential oils known for their skin soothing properties, such as lavender or tea tree oil, can further improve your skin’s appearance and health. Regularly cleaning your makeup tools and maintaining a clean environment can also contribute to healthier skin by minimizing bacteria and dust exposure, similar to the benefits provided by air purifiers in improving indoor air quality. Embracing innovative marketing strategies can also help you discover new products and techniques that enhance your makeup routine and overall confidence.
Preparing Your Skin for the Baking Process

Before you start baking, make sure your skin is clean and exfoliated to create a smooth canvas. Then, hydrate thoroughly and apply a primer to help your makeup stay in place. Proper preparation guarantees the baking process gives you a flawless, long-lasting finish. Incorporating skin preparation techniques can further enhance the longevity and appearance of your makeup.
Cleanse and Exfoliate Skin
Have you properly cleansed and exfoliated your skin before starting the baking process? A clean, smooth surface is essential for a flawless finish. Your skincare routine should include gentle cleansing to remove dirt and excess oil, which helps prevent breakouts and ensures even makeup application. Exfoliation benefits include removing dead skin cells, revealing a brighter complexion and allowing your makeup to sit better. Consider these tips: – Use a gentle cleanser suited for your skin type – Exfoliate 1-2 times a week to avoid irritation – Choose a scrub or chemical exfoliant based on your preferences – Pat your skin dry before applying makeup – Always follow with a moisturizer to keep skin hydrated. Proper cleansing and exfoliation set a perfect foundation for baking, especially when considering All Waterparks to achieve a flawless look.
Hydrate and Prime Properly
Are you giving your skin the right boost of hydration and primer before you start baking? A hydration boost is essential to create a smooth, plump base that holds makeup evenly. Use a lightweight, hydrating spray or serum to prep your skin, ensuring it’s moist but not greasy. Incorporating techniques that promote energy flow can further enhance your skin’s receptivity to makeup. This mindful approach aligns with the idea of spiritual connection and can improve your overall makeup application process. Additionally, understanding Gold IRA Rollovers can help you diversify your retirement assets, ensuring long-term financial security. Next, focus on primer selection; choose one that suits your skin type and addresses your specific concerns, like dullness or oiliness. A good primer creates a barrier that smooths your skin’s surface and enhances longevity. Proper hydration and a well-chosen primer help your makeup sit seamlessly, making the baking process more effective. Skipping these steps can lead to uneven application or cakiness, so take a moment to prepare your skin thoroughly for flawless results.
Step-by-Step Guide to Baking Your Makeup
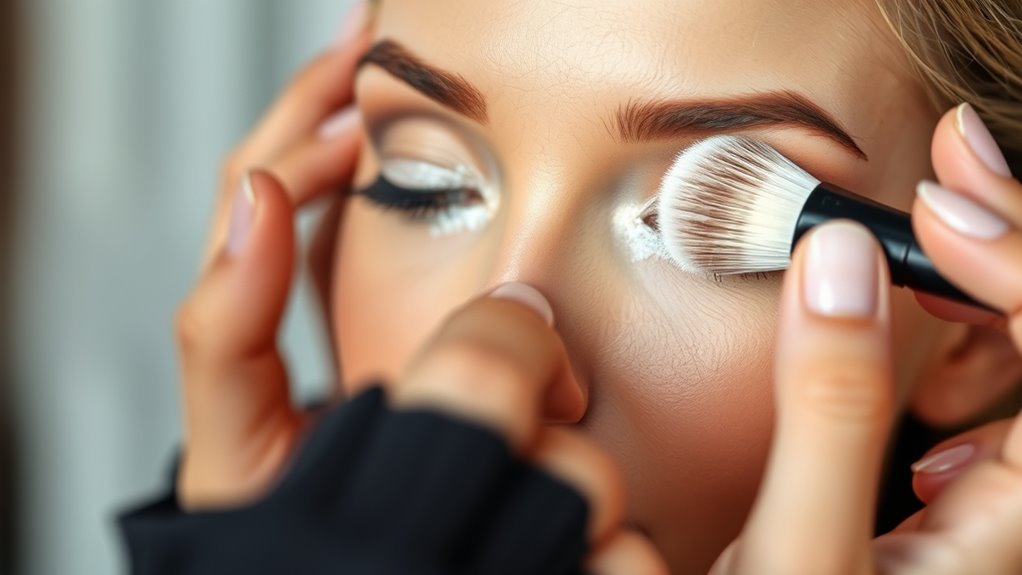
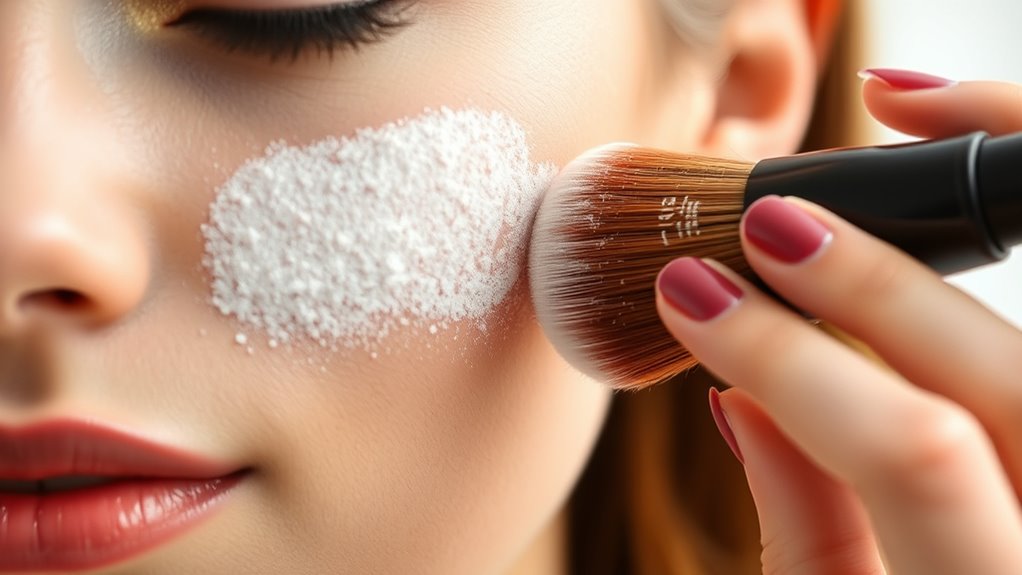
Baking your makeup involves a precise process that helps set your foundation and concealer for a long-lasting, flawless finish. To start, choose a translucent setting powder that complements your skin tone for better color matching. Using a damp sponge, apply a generous layer of powder directly over areas with texture contrast, like under your eyes and around your nose. Let it sit for 5-10 minutes; this allows the powder to absorb excess oils and settle into fine lines. Then, gently dust off the excess with a fluffy brush, revealing a smooth, matte surface. Remember, the key to successful baking is patience and even application. Incorporating proper technique can help achieve a more seamless and natural finish. Additionally, using quality setting powders designed specifically for baking can enhance the overall effect and longevity of your makeup. Embracing patience and consistency can also inspire confidence and reinforce your self-expression, much like many visionaries suggest through their life-changing quotes.
Best Areas to Focus on When Baking
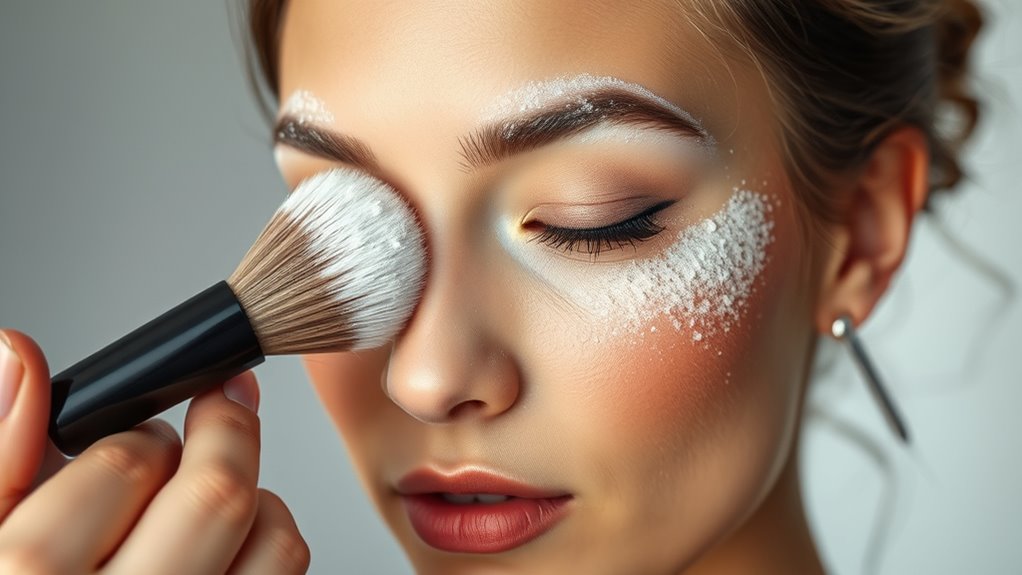
Focusing your baking on specific areas can enhance your makeup’s longevity and smoothness. The most common areas to highlight with baking are under your eyes, the center of your forehead, down the bridge of your nose, and along your chin. These highlighted techniques help set your concealer, preventing creases, and brighten your face. Applying a generous layer of translucent powder here creates a flawless base for the finishing touches. Be sure to let the powder sit for a few minutes to absorb excess oils and set your makeup. Staying informed about legislative changes can help you adapt your beauty routine to new regulations or product standards. When you dust away the excess, your skin looks smooth and matte, with makeup that stays put longer. Concentrating on these key zones guarantees your makeup remains fresh and polished throughout the day.
Tips for Achieving a Seamless Finish
To achieve a seamless finish, it’s essential to blend your baking powder thoroughly into your skin. This prevents cakiness and ensures your makeup looks natural. Use a damp beauty sponge or brush to press the powder into your skin, blending out any harsh lines.
Incorporate color correcting before baking to neutralize redness or dullness, creating a more even base.
After baking, set everything with a good setting spray to lock in your look and add a dewy finish. Remember to be patient and blend well—don’t rush the process.
Here are some tips:
- Use a damp sponge for smooth blending
- Apply color correctors in targeted areas
- Don’t forget to set with a spray for longevity
- Lightly dust excess powder to avoid a cakey appearance
- Finish with a spritz to meld everything together
Common Mistakes to Avoid During Baking
One common mistake is overdoing the powder, which can make your makeup look cakey.
Ignoring your skin type can also cause issues, like too much product on oily skin or not enough on dry skin.
To get the best results, be mindful of how much you apply and tailor your technique to your skin’s needs.
Overdoing the Powder
While baking can give your makeup a flawless finish, applying too much powder can quickly ruin the look. An overdone powder can lead to a cakey finish, making your skin appear heavy and unnatural. To avoid this, use a light hand and set only where needed.
Overapplying powder can emphasize fine lines and texture, defeating the purpose of baking. It’s tempting to think more is better, but that’s not the case. Be mindful of how much you’re applying and blend well to keep your skin looking smooth and fresh.
Remember, less is more when it comes to setting powders. A subtle, even layer will help your makeup last without creating a heavy, cakey finish.
- Using too much product from the start
- Not tapping off excess powder
- Applying in thick layers
- Forgetting to blend thoroughly
- Rushing the process
Ignoring Skin Type
Ignoring your skin type when baking can easily lead to unwanted results. If you have dry skin, heavy powder can accentuate flakiness and reduce skin hydration, making your makeup look dull and cracked.
On the other hand, oily skin may struggle with excess shine if you don’t use a lighter dusting or mattifying powders, which can compromise makeup longevity.
Conversely, those with sensitive or dry skin should avoid overly abrasive or thick powders that can cause irritation or dryness.
Tailoring your baking technique to your skin type ensures your makeup stays fresh without feeling uncomfortable.
Properly considering your skin’s hydration needs helps maintain a natural, luminous finish while enhancing makeup longevity, so your look remains flawless throughout the day.
How to Remove Excess Powder Without Ruining Your Makeup
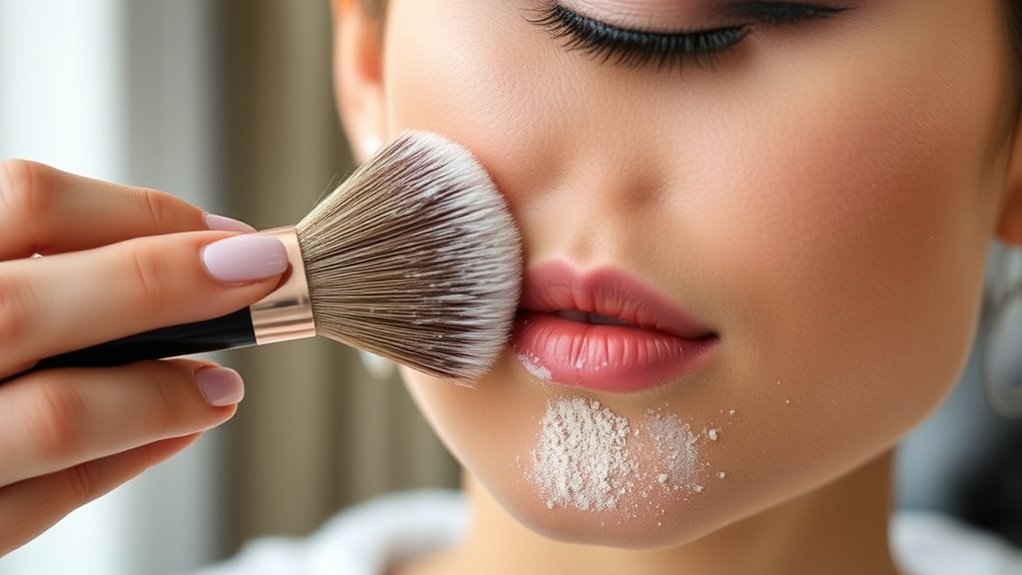
Removing excess powder without ruining your makeup can be tricky, but a gentle touch makes all the difference. Start by lightly tapping a clean brush or a fluffy powder puff to remove excess. Alternatively, use blotting papers to absorb oil and leftover powder without disturbing your base.
A gentle tap with a clean brush or blotting paper prevents makeup disturbance.
Lightly spritz your face with a setting spray to meld powders and skin, reducing cakiness. Avoid rubbing or pressing hard, which can shift your makeup. Instead, softly sweep or press to blend everything seamlessly.
Keep these tips in mind:
- Use blotting papers to lift excess powder
- Lightly mist with setting spray for a natural finish
- Gently tap with a clean brush or sponge
- Avoid rubbing or pressing too hard
- Work in small sections for even results
These simple steps help maintain your flawless look without damage.
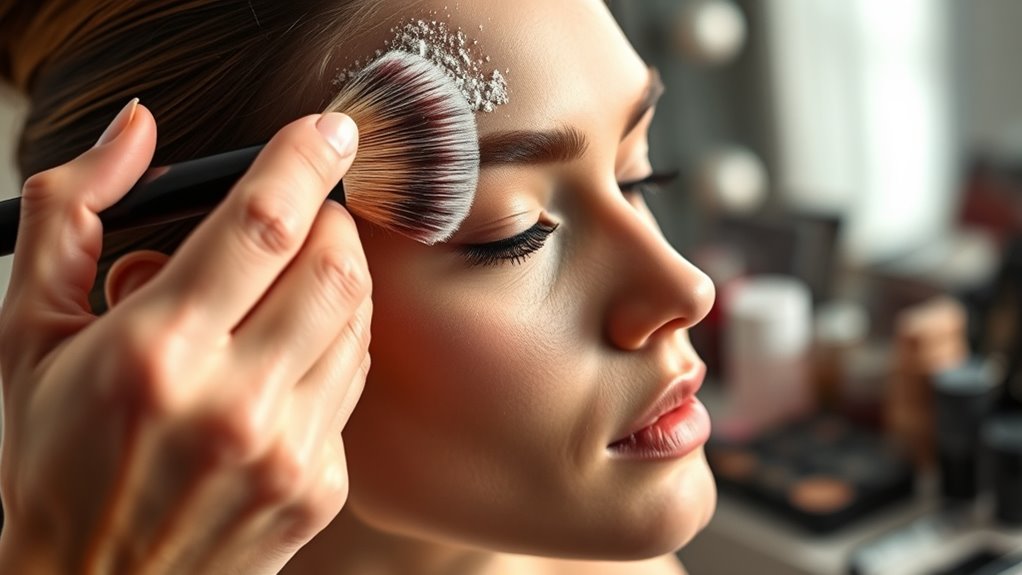
Incorporating Baking Into Your Daily Makeup Routine

Once you’ve mastered removing excess powder without disturbing your makeup, you can start incorporating baking into your daily routine for a smoother, more polished look.
Begin by applying color correction to areas needing it, like dullness or redness, before baking. Use a damp sponge to pack a generous layer of translucent powder over these spots and your contour lines.
Let it sit for a few minutes to set the makeup and enhance contouring techniques, adding definition to your cheekbones and jawline. During this time, focus on blending your foundation and concealer seamlessly.
After the baking time, gently dust off the excess powder with a fluffy brush. This method helps lock in your makeup, smooth out imperfections, and create a flawless, long-lasting finish for everyday wear.
Troubleshooting Common Baking Challenges
Even with careful technique, you might encounter some common baking challenges that can affect your final look. For example, uneven color correction can leave patches or ghosting, and excess powder might settle into fine lines.
To achieve long-lasting wear, make certain you tap off excess powder before applying, avoiding a heavy, cakey finish. If your face looks dull or chalky, try pressing a damp sponge to blend and refresh the setting.
For a natural finish, tap off excess powder and blend with a damp sponge if needed.
Over-baking can also cause dryness, so set a timer and remove excess powder promptly. Finally, if your makeup seems to fade quickly, consider using a setting spray after baking to seal everything in for more enduring results.
- Uneven color correction spots
- Excess powder causing cakiness
- Dryness or patchiness
- Powder settling into fine lines
- Makeup fading too fast
Frequently Asked Questions
Can Baking Makeup Be Suitable for All Skin Types?
Baking makeup can work for all skin types if you choose the right products and consider your skin’s hydration needs.
For oily skin, lightweight powders help control shine, while dry skin benefits from hydrating, creamy formulas.
Always check product compatibility with your skin type, and don’t forget to keep your skin well-hydrated underneath.
Adjust your baking technique accordingly to achieve a flawless finish without over-drying or clogging pores.
How Long Should I Leave the Powder on During Baking?
You should leave the powder on during baking for about 5 to 10 minutes. Imagine a cloud of translucent powder sitting on your skin, absorbing excess oil and setting your makeup in place.
During this baking duration, the powder application works its magic, ensuring a flawless finish. Be sure not to leave it too long, or it might look cakey.
Just enough time, and you’re set for a picture-perfect look.
Is Baking Makeup Effective for Oily or Acne-Prone Skin?
Baking makeup can be effective for oily or acne-prone skin because it helps absorb excess oil and creates a matte, long-lasting finish.
When you bake, the powder absorbs oil throughout the day, reducing shine. Just be careful not to overdo it, as too much powder can mask your natural glow.
If you prefer a luminous finish, use a light hand or opt for a translucent powder with a slight sheen.
Can Baking Cause Creasing or Settling Into Fine Lines?
Baking can cause creasing or settling into fine lines if you don’t set it properly or if you have textured skin. It’s important to apply a light, even layer and avoid over-baking, as excess powder can accentuate texture concerns.
When done right, baking boosts longevity effects, helping your makeup stay flawless all day. Just be mindful of your skin’s texture, and adjust your technique to prevent creasing or settling.
How Do I Choose the Right Shade of Powder for Baking?
You should choose the right shade of powder for baking by focusing on shade matching and undertone analysis. Opt for a shade that closely matches your skin tone to avoid looking cakey or mismatched.
Consider your undertones—warm, cool, or neutral—and select a powder that complements them. Testing the powder on your jawline or wrist helps guarantee a seamless blend, giving you a flawless, natural finish.
Conclusion
Baking makeup can give you a flawless, camera-ready finish, but it takes practice. Did you know that a survey found 68% of makeup artists swear by baking for long-lasting wear? When done correctly, it enhances your features and helps your makeup stay put all day. Just remember to avoid over-powdering and to gently remove excess to keep your look fresh. With patience and the right techniques, baking can become a game-changer in your routine.