To accentuate your facial features with nose highlighting, start by analyzing your nose shape—whether it’s straight, bulbous, or narrow—to choose the right technique. Lightly apply a highlighter along the bridge and tip to create dimension, blending seamlessly for a natural glow. Use matte shadows to contour the sides for a slimmer effect, and make sure to blend thoroughly to avoid harsh lines. If you continue exploring, you’ll discover how to perfect your technique for a balanced, radiant look.
Key Takeaways
- Analyze nose shape to determine optimal highlighting areas for natural enhancement.
- Focus on highlighting the bridge and tip to create a slender, lifted appearance.
- Use precise tools and light application to blend seamlessly for a subtle, sculpted look.
- Combine matte contouring with shimmer highlights for depth and dimension.
- Avoid harsh lines and over-application to maintain a balanced, natural facial harmony.
Understanding the Basic Principles of Nose Highlighting
To effectively highlight your nose, it’s important to understand its basic principles. First, recognize your nose shape, whether it’s straight, bulbous, or narrow, as this guides your highlighting approach. Different nose shapes require different highlighting techniques comparison to achieve a natural look. For example, a straight nose benefits from subtle contouring along the sides, while a bulbous nose may need focused highlighting on the bridge to create the illusion of length. You should focus on highlighting the high points—such as the bridge and tip—to draw attention and add dimension. Remember, the goal isn’t to mask your nose but to enhance its natural structure. Recognizing your nose shape helps you choose the right highlighting techniques, making your features stand out effortlessly. Additionally, understanding facial symmetry can further refine your highlighting strategy for a balanced and harmonious appearance. Incorporating highlight placement techniques can further optimize your overall facial contouring, especially when considering dynamic facial expressions that can influence how light interacts with your features. Being aware of lighting conditions can also make a significant difference in achieving a natural and flattering highlight.
Choosing the Right Products for a Natural Glow

To achieve a natural glow on your nose, selecting the right highlighter is key. You need to match your skin tone for a seamless finish. Using a preppy aesthetic inspired highlighter can add a touch of sophistication to your look. Apply with precision to avoid excess shine. When you choose products thoughtfully, your highlight looks effortless and enhances your features beautifully. Incorporating skin tone matching techniques ensures that your highlight complements your overall complexion for a balanced, radiant appearance.
Selecting Suitable Highlighters
Are you unsure how to choose highlighters that create a natural, radiant look? Start by considering highlighting powders, which blend seamlessly and give a subtle glow suitable for daily wear. They’re easy to build up for a gentle shine without overdoing it.
Cream highlighters are another great option; they provide a dewy finish and blend smoothly into your skin, perfect for a fresh, luminous appearance. When selecting products, think about your skin type—creams work well on dry skin, while powders suit oily or combination skin.
Look for shades that complement your skin tone and avoid overly glittery or icy tones for a more natural effect. Testing a few options helps you find what enhances your features effortlessly and naturally. For added confidence, choosing products from reputable brands like Patchology can ensure you’re using trustworthy skincare that supports your beauty routine. Additionally, understanding your skin’s highlighting needs can help you select the best product types and shades for a flawless finish. Knowing the differences between formulations can also guide you to the most suitable highlighter for your desired look. Incorporating quality materials into your selection process can further improve the overall appearance and longevity of your highlighter. Paying attention to product ingredients can also help you avoid irritation and achieve a more natural glow.
Matching Skin Tones
Choosing the right highlighter shades that match your skin tone can make a noticeable difference in achieving a natural glow. When selecting shades, consider your overall undertone to ensure harmony with your complexion. If you want a sun kissed glow, opt for warm, golden tones that complement your complexion. For lighter skin, choose champagne or soft peach shades to create a subtle, natural finish. Deeper skin tones benefit from rich bronze or caramel hues that enhance their warmth. Remember, the goal is to blend seamlessly with your skin, so the highlighter enhances your features without looking obvious. Test shades in natural light to see how they meld with your skin tone. Understanding your skin undertone can help you select shades that complement your skin, resulting in a more natural and radiant look. Additionally, knowing your skin undertone can guide you in choosing products that work harmoniously with your natural coloring for a more polished appearance. Incorporating high-quality formulas with long-lasting wear ensures your glow stays fresh throughout the day. Recognizing the importance of emotional well-being can also contribute to feeling confident in your overall appearance.
Applying With Precision
Selecting the right highlighter products is essential for achieving a natural, luminous look. To enhance nose symmetry, choose a highlighter that complements your skin tone and applies smoothly. Using a skin-safe device can help you achieve more even application and better blending, especially when working on delicate areas like the nose. Focus on highlighting the bridge of your nose, ensuring even placement to create a balanced appearance. Use a small, precise brush to emphasize highlighting symmetry, avoiding over-application that can look unnatural. Lightly blend the product into your skin for a seamless finish, making sure the highlight enhances your features without drawing unnecessary attention. Remember, subtlety is key—aim for a soft glow that accentuates your nose’s natural shape. When you apply with precision, your nose will look more defined yet harmonious with your overall facial features.
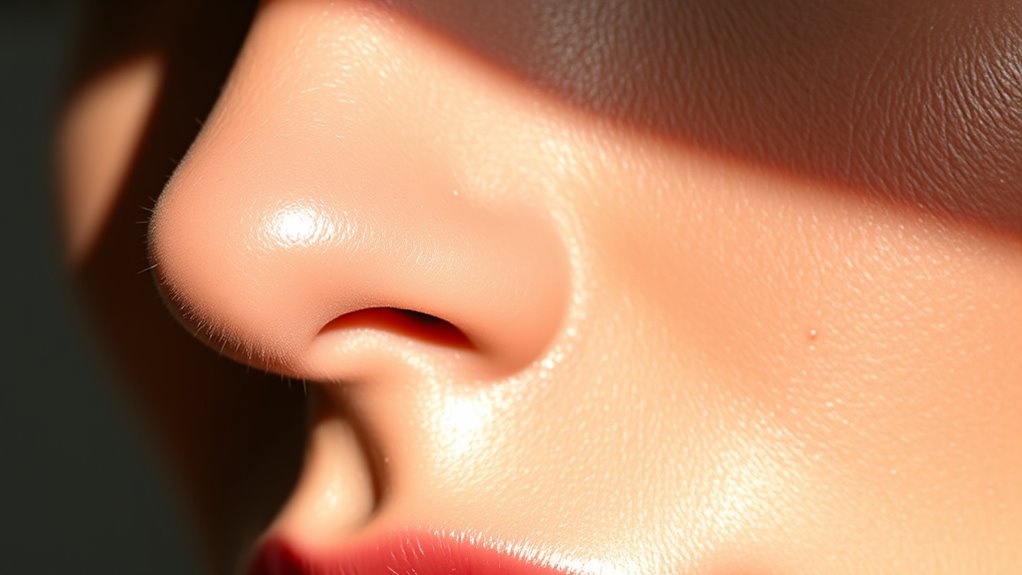
Identifying Your Nose Shape for Targeted Highlighting
Have you ever wondered why certain highlighting techniques work better for your nose? It all depends on your nose shape, nose symmetry, and facial proportions. First, identify whether your nose is straight, bulbous, or narrow. This helps you choose the right approach to highlight specific areas. Properly understanding your nose shape can also help you maximize space and organization in your makeup routine by creating visual balance. Recognizing the facial proportions plays a crucial role in determining the most flattering highlighting strategy. Additionally, understanding industry trends can help you stay updated on the latest techniques for enhancing your features effectively. Exploring different highlighting tools can further refine your application and achieve a more polished look. Knowing your nose shape ensures your highlighting enhances your natural features, creating harmony and balance in your facial proportions. Furthermore, being aware of face symmetry can help you tailor your highlighting to emphasize your best features and create a more harmonious overall appearance.
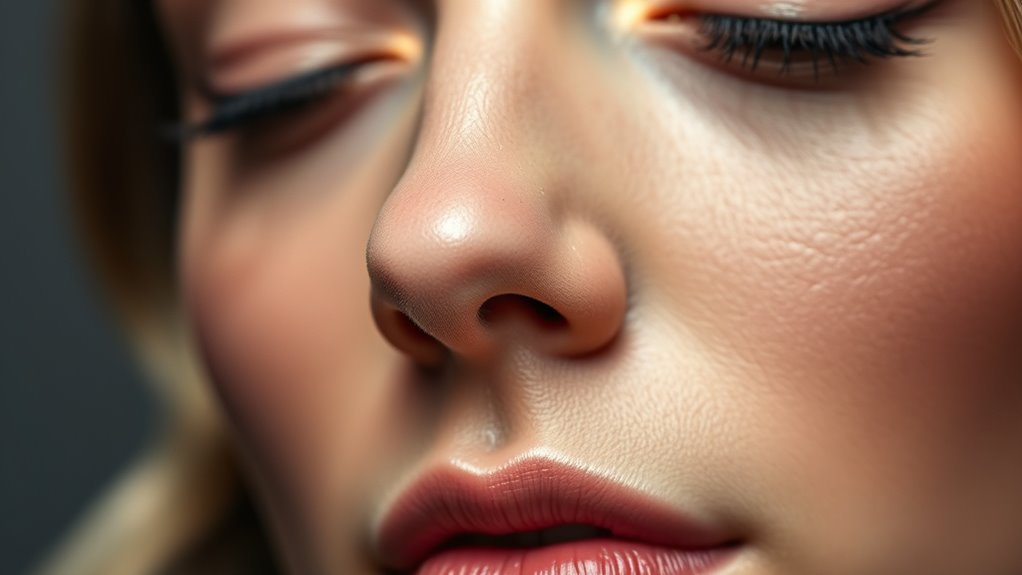
Applying Highlighter to Create a Subtle Bridge Illusion

To create a subtle bridge illusion, you need to apply your highlighter with precision, focusing on the narrow area down the center of your nose. Use light, controlled strokes to avoid harsh lines, and blend carefully to achieve a natural look. Mastering these techniques will help you enhance your nose’s shape without overdoing it. Incorporating cosmetic application techniques into your makeup routine can also inspire different ways to experiment with shading and highlighting for a more dynamic look, especially when considering skin type and how it interacts with makeup products.
Precise Application Techniques
Achieving a subtle bridge illusion with highlighter requires careful and precise application. Start with nose shape analysis to determine the most flattering placement. For example, if your nose is wider, focus on a small, targeted line along the center.
Avoid highlighting myths that suggest over-application creates dramatic effects; instead, aim for a natural glow. Use a fine brush or fingertip to apply the highlighter sparingly, focusing on the high points of your nose bridge. Lightly tap to blend, ensuring the product seamlessly blends into your skin without harsh lines.
Blending for Natural Effect
Once you’ve applied your highlighter to define the nose bridge, blending is essential to achieve a natural, seamless look. Use a clean, soft brush or fingertip to gently blend the cream textures, softening any harsh lines.
Focus on color matching by choosing a highlighter shade that complements your skin tone, avoiding overly shiny or stark contrasts. Lightly buff the edges to create a subtle gradation from your skin to the highlighted area.
This technique enhances the bridge illusion without drawing unnecessary attention. Imagine a gentle wave of light that follows the natural contour of your nose, blending effortlessly into your skin.
The goal is a flawless, luminous finish that catches the eye softly and naturally.
Contouring and Highlighting for a Slimmer Nose Effect
Contouring and highlighting can instantly create the illusion of a slimmer nose by emphasizing certain areas and subtly downplaying others. Focus on enhancing nose symmetry and balancing facial proportions to achieve a natural, refined look. Use a contour shade along the sides of your nose to create shadows that slim the appearance. Apply a highlighter on the bridge to draw attention upward, making your nose appear more streamlined. The key is to keep the contour slightly darker than your skin tone and blend seamlessly. Here’s a quick guide:
| Area | Technique | Effect |
|---|---|---|
| Sides of Nose | Contour with matte shade | Creates shadow, slims shape |
| Bridge of Nose | Highlight with shimmer | Draws attention upward |
| Tip of Nose | Blending for balance | Maintains natural proportions |
This approach enhances facial harmony while subtly refining your nose shape.
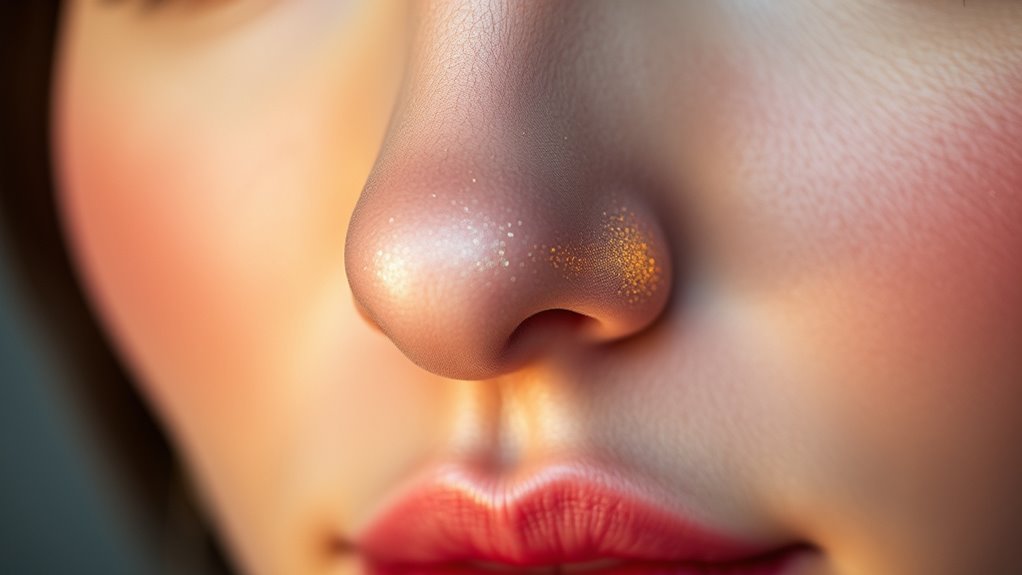
Techniques for Highlighting the Tip of the Nose

Highlighting the tip of your nose can add a subtle lift and bring balance to your facial features. To do this effectively, start with nose shape identification to determine the best approach.
Choose a highlighting tool that suits your skin type and desired finish, such as a creamy highlighter or a powder. Use a small, precise brush to apply the product directly on the very tip of your nose, accentuating its natural shape. Focus on creating a natural glow without overdoing it.
Choose a suitable highlighter and precise brush to subtly accentuate your nose tip with a natural glow.
Visualize the effect by imagining:
- A tiny pinpoint of radiance at the nose’s apex
- Light reflecting softly, drawing attention subtly
- Enhancing symmetry with minimal product
- Achieving a refreshed, luminous look effortlessly
This technique emphasizes your nose’s natural features while maintaining a harmonious balance.
Using Matte and Shimmer Finishes to Enhance Your Look

Using matte finishes can give your nose a clean, defined look. Shimmer adds brightness and dimension. Combining these finishes strategically helps you highlight key areas without overdoing it.
When applied thoughtfully, they work together to enhance your overall appearance effectively.
Matte for Definition
To create a striking nose definition, combining matte and shimmer finishes can be highly effective. Using a matte finish on the sides of your nose helps create depth and contour, making your nose appear more sculpted. This matte look absorbs light, providing a natural shadow that adds definition without shine.
To enhance the effect, apply a subtle glow with shimmer along the bridge of your nose. This contrast draws attention to the central feature while maintaining a balanced, polished appearance. Imagine:
- The matte contour blending seamlessly into your skin, creating shadows
- The shimmer highlighting the bridge, catching light effortlessly
- A natural, refined look with no overpowering shine
- Defined edges that accentuate your nose’s shape
This technique enhances your facial features with a sophisticated, natural finish.
Shimmer for Dimension
Building on the foundation of matte contouring, incorporating shimmer adds a luminous dimension that brings your features to life. When you use highlighting tools, opt for shimmer products on the high points of your nose to create a subtle glow.
Applying shimmer to the bridge and tip of your nose enhances your nose contouring by catching light and emphasizing your natural shape. Use a small, precise brush to apply shimmer selectively, avoiding over-application that can look frosty or unnatural.
The key is to balance matte and shimmer finishes, so your nose appears naturally sculpted with a radiant touch. Highlighting with shimmer transforms your nose from flat to dimensional, adding depth and vibrancy to your overall look.
Combining Finishes Effectively
Combining matte and shimmer finishes allows you to create a balanced and natural-looking contour that highlights your best features. Matte textures, applied with precise application tools like brushes, give a soft, refined base that reduces shine.
Shimmer finishes, used sparingly, add a luminous glow and dimension, drawing attention to specific areas. To achieve this, start with matte products for your main contour, then use shimmer to accentuate your nose bridge or tip.
Picture a softly blended matte shade under the cheekbones, with a subtle shimmer highlighting the bridge. Think of a fluffy brush sweeping matte powder for a smooth finish, while a small, precise brush taps shimmer onto targeted spots.
The key is blending seamlessly for a harmonious, natural effect.
Blending Tips for Seamless Integration

Achieving a natural nose highlight requires careful blending to guarantee the shimmer seamlessly melds with your skin. To do this, use a clean, dense brush or sponge to gently blend the highlighted areas, avoiding harsh lines.
Focus on maintaining face symmetry by evenly distributing the highlight along the bridge and tip of your nose. Pay attention to your lighting techniques—natural light helps you see how well the highlight blends and appears on your skin.
Lightly buff the edges to soften any harsh gradations, ensuring the highlight looks like a natural extension of your skin. Remember, blending is key to creating a seamless, radiant look that enhances your facial features without drawing unwanted attention to uneven spots.
Common Mistakes to Avoid When Highlighting Your Nose

Even with the best blending techniques, it’s easy to make some common mistakes that can detract from a natural-looking nose highlight. One common highlighting mistake is applying too much product, creating an unnatural shimmer.
Another is placing highlighter too close to the tip or sides, which can emphasize imperfections. Additionally, using a shade that’s too light or dark compared to your skin tone can throw off the balance.
Finally, neglecting proper blending causes harsh lines that draw attention unwanted. To avoid these pitfalls, focus on light, precise application, and blend thoroughly for a seamless finish.
Enhancing Your Overall Look With Complementary Makeup Tips
To enhance your overall look, it’s essential to take into account how your makeup choices work together to create a harmonious appearance. Focus on balancing nose symmetry and facial proportions by selecting complementary shades and techniques.
Use contouring to subtly define your nose, ensuring it aligns with your other facial features. When highlighting, keep it natural and avoid overdoing it, so your nose blends seamlessly with the rest of your face.
Consider emphasizing your cheekbones, eyes, or lips to draw attention away from any asymmetry. Properly coordinated makeup creates a cohesive look that enhances your natural beauty.
Frequently Asked Questions
How Can I Make My Nose Appear More Defined Without Contouring?
To make your nose appear more defined without contouring, focus on natural shading and subtle enhancements.
Use a highlighter on the bridge and tip to create a slight glow, drawing attention to the center of your face.
Apply a soft, matte eyeshadow or a bronzer just below the cheekbones along the sides of your nose for gentle shading.
Keep everything blended well for a natural, sculpted look without heavy makeup.
What Are the Best Tools for Precise Nose Highlighting?
Think of your tools as magic wands for a perfect glow. The best for precise nose highlighting are highlighting powders that catch the light just right.
Pair them with precision brushes—thin-tipped or angled—to carve out your nose’s natural beauty. These tools help you apply with pinpoint accuracy, creating a luminous effect that accentuates your features effortlessly.
With the right combination, your nose will stand out beautifully and naturally.
Can Nose Highlighting Suit All Skin Tones and Types?
Nose highlighting can suit all skin tones and types if you choose the right product and technique. You should focus on skin tone compatibility, selecting shades that complement your natural complexion.
Lighter shades work well for fair skin, while warmer or deeper hues suit darker tones. Always opt for blendable, lightweight formulas to avoid cakiness and [guarantee] natural-looking results.
Proper product selection and application make nose highlighting a versatile option for everyone.
How Often Should I Reapply Highlighter During the Day?
You should reapply highlighter as needed to maintain that natural glow and enhance highlighting longevity. Typically, it’s best to touch up every 4-6 hours, especially if you’re sweating or exposed to humidity.
Keep a small highlighter compact or stick in your bag for quick reapplications. This way, your nose continues to catch the light beautifully, ensuring your facial features stay radiant and luminous throughout the day.
Are There Quick Tips for Beginners to Master Nose Highlighting?
Think of nose highlighting as painting a tiny masterpiece. To master it quickly, focus on blending techniques by gently buffing highlight along the bridge and tip, avoiding harsh lines.
Use a small brush or fingertip for precise highlight placement, and blend seamlessly into surrounding areas.
Keep it subtle—less is more—so your nose looks naturally sculpted, drawing attention without overpowering your entire face.
Conclusion
By mastering nose highlighting techniques, you can effortlessly enhance your facial features and boost your confidence. Remember, about 60% of makeup enthusiasts find that strategic highlighting makes their face appear more balanced and radiant. With practice, you’ll achieve a natural glow that accentuates your unique nose shape. Keep experimenting with different products and methods, and you’ll soon create a flawless, polished look every time. Your perfect highlight is just a few strokes away!