

To identify your undertone using only a white sheet of paper, stand in natural, soft light and cleanse your face thoroughly to remove makeup and oils. Hold the white paper close to your face, keeping your skin relaxed and steady. Observe whether your skin looks more yellow, pink, or seamless against the paper. This simple test can reveal your warm, cool, or neutral undertone, and you’ll discover how to interpret these clues for personalized color choices by exploring further.
Key Takeaways
- Use natural, indirect daylight to compare your skin against the white sheet for accurate undertone detection.
- Remove all makeup and cleanse your skin thoroughly before testing to reveal your natural skin tone.
- Hold the white sheet close to your face at eye level without makeup interference for proper comparison.
- Observe whether your reflection appears more yellow, pink, or neutral against the white paper.
- Check your skin’s reflection under different lighting conditions to confirm consistent undertone appearance.
Gathering Your Materials and Preparing the Space
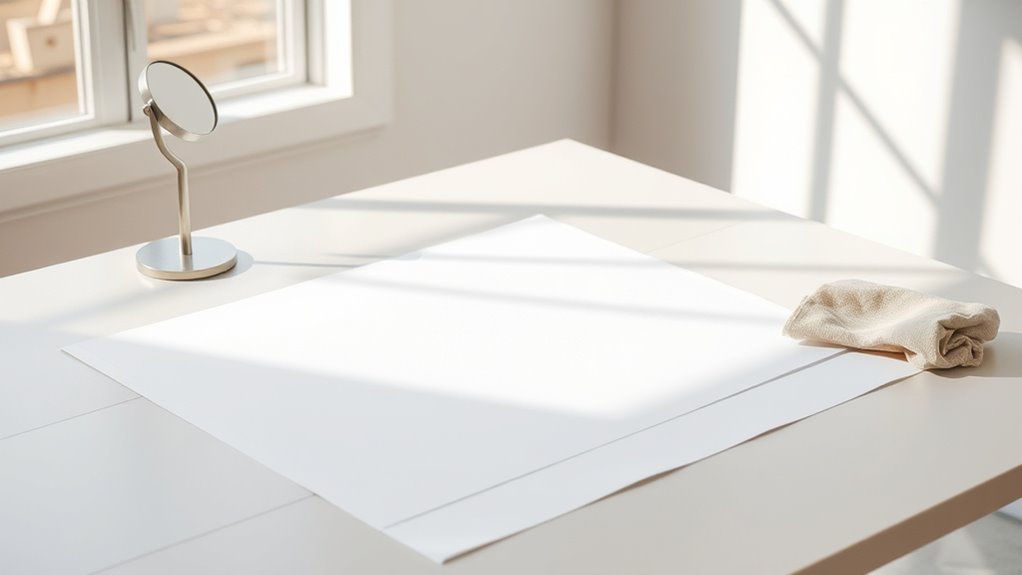
Before you begin identifying your undertones, it’s important to gather all the necessary materials and set up a well-lit, clutter-free space. Proper lighting conditions are essential, so choose a spot with natural, even light to avoid shadows that can distort your skin’s appearance. Clear your work area of unnecessary items to stay focused. Before examining your skin, perform a simple skin preparation: cleanse your face to remove oils and dirt, and avoid heavy skincare products that might alter your skin’s natural hue. This ensures an accurate assessment of your undertones. Additionally, understanding color accuracy can help you better interpret subtle undertone differences, making your analysis more precise. Using tools like technology integration in modern devices can enhance your ability to distinguish undertones accurately. Recognizing the impact of AI security measures in digital tools can also help you select more reliable apps and devices for your analysis. Being aware of data analytics can provide insights into your skin’s subtle variations, enhancing your assessment process. Having everything ready and your space properly prepared helps you accurately determine your undertones, making the rest of the process smoother and more reliable.
Finding Natural Light for Accurate Results

To get the most accurate results, choose a time during the day when natural light is bright but not harsh, like late morning or early afternoon. Avoid artificial lighting, as it can distort colors and undertones. Using natural daylight guarantees you see true shades and make better color decisions.
Optimal Daylight Timing
Capturing the right undertones relies heavily on natural light, making timing essential. The best lighting conditions occur during specific times of day when sunlight is soft and diffuse, typically in the morning or late afternoon. During these periods, the light is less harsh, reducing shadows and color distortions that can mislead your undertone assessment. Avoid midday sunlight, which can be too intense and create uneven lighting. To get accurate results, plan your session when the sun is low, providing consistent, gentle illumination. This natural lighting helps reveal true undertones without interference from artificial light or overly bright conditions. Being aware of color temperature can further improve your accuracy in assessing undertones under natural light. Additionally, understanding environmental factors, such as cloud cover or surrounding colors, can also influence how undertones appear and should be taken into account. Incorporating natural lighting conditions into your planning will enhance the reliability of your undertone analysis. Recognizing the lighting environment in your space can also help you choose the most suitable times for testing.
Avoid Artificial Light
Artificial light can distort how you see undertones, so relying on it can lead to inaccurate results. Artificial lighting often alters the true color of your skin or fabric, making it difficult to identify undertones correctly. To get the most accurate reading, seek out natural light, preferably during the day when sunlight is abundant. Natural light provides consistent, true-to-life color, which helps with effective color calibration of your perception. Avoid fluorescent or incandescent bulbs, as they cast color tints that can mislead your judgment. If possible, set up your testing area near a window and observe your undertones in direct daylight. This simple step ensures you’re seeing the true colors and making the right choices based on genuine undertones. Additionally, being mindful of visual perception can help you better assess colors and undertones accurately. Incorporating knowledge of cybersecurity vulnerabilities reminds us to protect our personal information while exploring online resources for color analysis. Being aware of lighting conditions further enhances your ability to accurately determine undertones and avoid misinterpretation. To improve your color recognition, practicing in different natural lighting environments can help you become more confident in your assessments.
Cleansing Your Skin Before Testing

Before testing your undertones, make sure to cleanse your skin thoroughly to eliminate dirt and oils. Avoid heavy makeup, as it can interfere with accurately identifying your natural tones. A clean face helps you see your true undertones clearly and ensures better results. Incorporating a gentle cleanser designed for your skin type can further enhance the accuracy of your undertone assessment skincare practices. Additionally, consider taking note of the culinary experiences you enjoy most, as they often reflect regional flavors that complement your personal style.
Cleanse Thoroughly First
To make certain you get the most accurate results when testing your undertones, it’s essential to start with a clean face. Cleansing removes oils, dirt, and leftover makeup that can interfere with seeing your true skin tone. Focus on a gentle cleanser that won’t strip your skin’s natural oils, ensuring your skin hydration remains balanced. This step is especially important because skin cleansing helps reveal your skin’s natural color temperature, whether it leans warm, cool, or neutral. Proper cleansing also minimizes product buildup, which can distort your perception of your undertones. Using a fatherly approach to care by thoroughly cleansing your skin creates a clearer view of your natural hues. When your skin is clean and well-hydrated, you can better observe subtle undertones against the white sheet of paper. Additionally, headphone compatibility plays a role in ensuring you are comfortable during the testing process, preventing distractions that can affect your judgment. Avoid rushing this step; a thorough cleanse sets a solid foundation for accurate undertone testing, giving you clearer insight into your best shades and hues.
Avoid Heavy Makeup
Why should you avoid heavy makeup before testing your undertones? Heavy makeup can mask your natural skin tone, making it difficult to accurately determine your undertones. Proper skin preparation, including makeup removal, guarantees you see your true complexion. When your face is free of concealer, foundation, or blush, you get a clear view of your natural hues. Additionally, using an air purifier to reduce airborne pollutants can help maintain skin clarity during testing. Understanding the importance of personal finance management can help you allocate resources for skincare and testing tools, ensuring you prioritize your skin health effectively. Recognizing angel number patterns can also guide you in understanding your love life better.
Positioning the White Paper for Proper Reflection

Positioning your white paper for proper reflection starts with understanding how it interacts with your overall branding and messaging. Proper lighting setup and paper placement are vital to see true undertones. Adjust your lighting so it’s soft and even—harsh shadows distort color perception. Place the paper in a neutral, well-lit area where natural light can gently bounce off the surface. To evoke the right emotions and accuracy, consider these tips:
Ensure your white paper’s true colors with soft, even lighting and neutral placement for authentic reflection.
- Use consistent lighting to avoid color shifts
- Position the paper at eye level for an honest reflection
- Ensure the background isn’t distracting or tinted
Placing Your Face Near the Paper Without Makeup

Bring your face close to the paper without any makeup on to see your natural skin tone clearly. This helps you observe your true undertones without interference. Keep your face steady and look carefully at how your skin reflects light against the paper.
Natural Skin Tone Observation
To observe your natural skin tone, hold a clean sheet of white or neutral-colored paper close to your face without any makeup on. This simple step allows for accurate shade matching and effective color analysis. As you do this, pay attention to the subtle undertones revealed by your skin’s reflection against the neutral background.
Notice how your skin appears in different lighting and compare it to the paper. You might feel a sense of clarity, confidence, or curiosity as you uncover your true hues. Recognizing these nuances helps you select colors that enhance your natural beauty.
- Feel empowered by understanding your unique undertone
- Experience confidence in choosing the right shades
- Connect with your authentic self through honest observation
Minimize Makeup Interference
Before comparing your skin to the neutral paper, make sure your face is free of makeup. Makeup can create color contrast that masks your natural undertones, leading to inaccurate results. Remove all foundation, blush, and highlighter to see your true skin tone clearly. Also, pay attention to lighting conditions; natural light is best, as artificial lighting can distort colors and make undertone identification difficult. Standing close to a white sheet of paper in consistent, neutral lighting will help you see subtle differences in your skin’s hue. Avoid shadows or uneven light that can interfere with perception. Minimizing makeup interference ensures that the comparison accurately reveals your undertones, making your analysis more reliable and straightforward.
Observing Your Skin’s Reflection Against the Paper
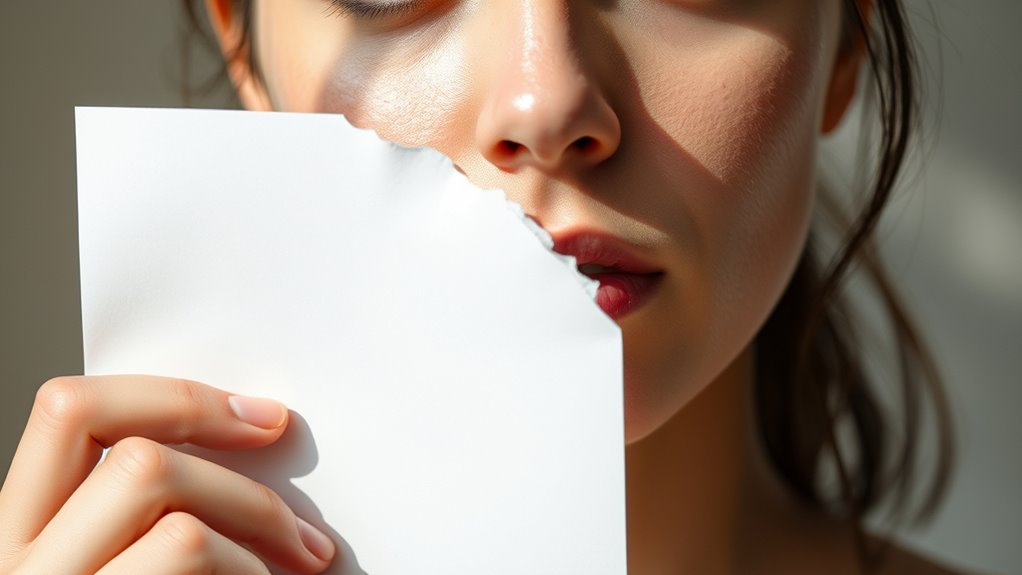
Looking at your skin’s reflection against a piece of white paper can reveal subtle undertones that aren’t always obvious in natural light. The way your skin’s hue interacts with the paper’s pure whiteness depends on your unique color contrast and the lighting conditions. To better see your undertones, observe the reflection closely—notice whether your skin appears warmer, cooler, or neutral.
- Feel the emotional shift as you recognize your natural glow or undertone nuances
- Experience clarity when you see the difference in how your skin blends or contrasts with white
- Gain confidence in choosing colors that truly complement your natural tone
Pay attention to how lighting conditions affect the reflection, as they can either mask or highlight your undertones, making your assessment more accurate.
Comparing Your Skin’s Undertones to the Paper’s Hue

Once you’ve observed how your skin’s reflection interacts with white paper, the next step is to compare that reflection to the paper’s hue. Focus on the color comparison, noting whether your skin’s undertone appears more yellow, pink, or neutral under the light. Keep in mind that lighting effects can influence your perception—natural light provides the most accurate reading, while artificial light may cast warm or cool tones. Pay close attention to subtle shifts in hue; a slight yellowish tint suggests warm undertones, while a pinkish hue indicates cool undertones. Neutral undertones will blend seamlessly, matching the paper without noticeable warmth or coolness. This comparison helps you determine your skin’s true undertone, unaffected by lighting distortions.
Interpreting Cool, Warm, and Neutral Indicators

Interpreting your skin’s indicators of cool, warm, or neutral undertones involves paying close attention to subtle color cues. These cues guide your undertone analysis and help with accurate color matching. Look for signs like:
Pay attention to subtle skin cues like vein color and jewelry preferences to determine your undertone.
- Vein color: blue or purple veins suggest cool undertones, while green veins indicate warm undertones.
- Jewelry preference: silver complements cool undertones, gold flatters warm ones.
- Skin reaction: cool undertones often burn easily, warm tones tan more readily.
Confirming Your Undertone With Additional Checks

To confidently confirm your undertone, incorporate additional checks beyond vein color, jewelry preference, and skin reactions. One effective method is examining how your skin interacts with different lighting conditions, paying attention to light reflectance. Cool undertones tend to reflect light with a bluish hue, while warm undertones reflect a golden or yellowish glow. Consider the color temperature of your environment: do you look better in lighting that’s cooler (bluish) or warmer (yellowish)? Observe how your skin responds under natural daylight versus artificial light. If your skin appears more radiant and healthy in warm light, you might have warm undertones. Conversely, if cooler light enhances your skin’s brightness, your undertone is likely cool. These additional checks refine your understanding of your undertone with greater accuracy.
Tips for Maintaining Consistency in Testing

Maintaining consistency when testing your undertones is essential to getting accurate results. To do this, focus on controlling factors like color contrast and lighting consistency. When testing, always use the same lighting conditions—natural light or consistent artificial light—to prevent color shifts. Keep your white sheet of paper in the same position and avoid moving it between tests. Additionally, be mindful of your surroundings; avoid shadows or color distractions that could skew your perception. Here are tips to stay consistent:
- Use the same light source and avoid changing lighting setups.
- Keep the white sheet in the same spot during each test.
- Minimize background distractions and color influences.
Frequently Asked Questions
Can I Use Colored Paper Instead of White for Undertone Testing?
Using colored paper instead of white for undertone testing isn’t ideal because textured surfaces like colored paper can distort your perception of undertones. The white sheet provides a neutral background that helps you see subtle undertones clearly. Colored paper might add unwanted hues, making it harder to accurately identify warm, cool, or neutral undertones. Stick with a white sheet for the most precise results and avoid textured surfaces for clarity.
How Often Should I Repeat the Test for Accuracy?
Think of your undertone test as tuning a fine instrument—precision matters. You should repeat the test every few days or after any major change in lighting to guarantee accuracy. This repeat frequency helps you refine your results, catching subtle shifts like the changing tide. Consistent testing improves accuracy, turning your color choices into a harmonious symphony. Keep at it, and you’ll master your undertones with confidence and clarity.
What if My Skin Tone Appears Different Under Various Lighting Conditions?
When your skin tone looks different under various lighting, it’s all about light consistency and skin reflection. You should test your skin’s undertones in natural, balanced light—avoid harsh or mixed lighting—since different lights can alter how your skin appears. Check your reflection in a neutral white or grey surface, like a white sheet of paper, to see your true undertone. Consistent lighting helps you identify your genuine undertones accurately.
Is This Method Suitable for All Skin Types and Tones?
Did you know that skin tone diversity includes thousands of shades? When you use this method, lighting effects can influence how undertones appear, making it less reliable across all skin types and tones. While it works well for many, darker or very fair skin may require additional techniques. Ultimately, this method offers a helpful starting point, but you should consider lighting and personal experimentation to find your true undertone.
How Do Artificial Lights Affect the Undertone Assessment?
Artificial lighting, especially with different color temperatures, can profoundly impact your undertone assessment. Warm lights may make your skin appear more yellow or golden, while cool lights can give off a bluish or pinkish hue. To get an accurate read, try to evaluate your undertones in natural daylight or under neutral lighting. Avoid artificial lighting with strong color temperatures, as it can distort your true undertones.
Conclusion
Knowing your undertones can boost your confidence and help you choose the right shades. Did you know that about 85% of people have warm or neutral undertones, making this quick test super useful? By following these simple steps with just a white sheet of paper, you’ll be able to identify your undertone accurately. Once you get the hang of it, picking colors that complement your skin becomes effortless and fun!